Blog
5 Ways to Purify Water When You Have Nothing
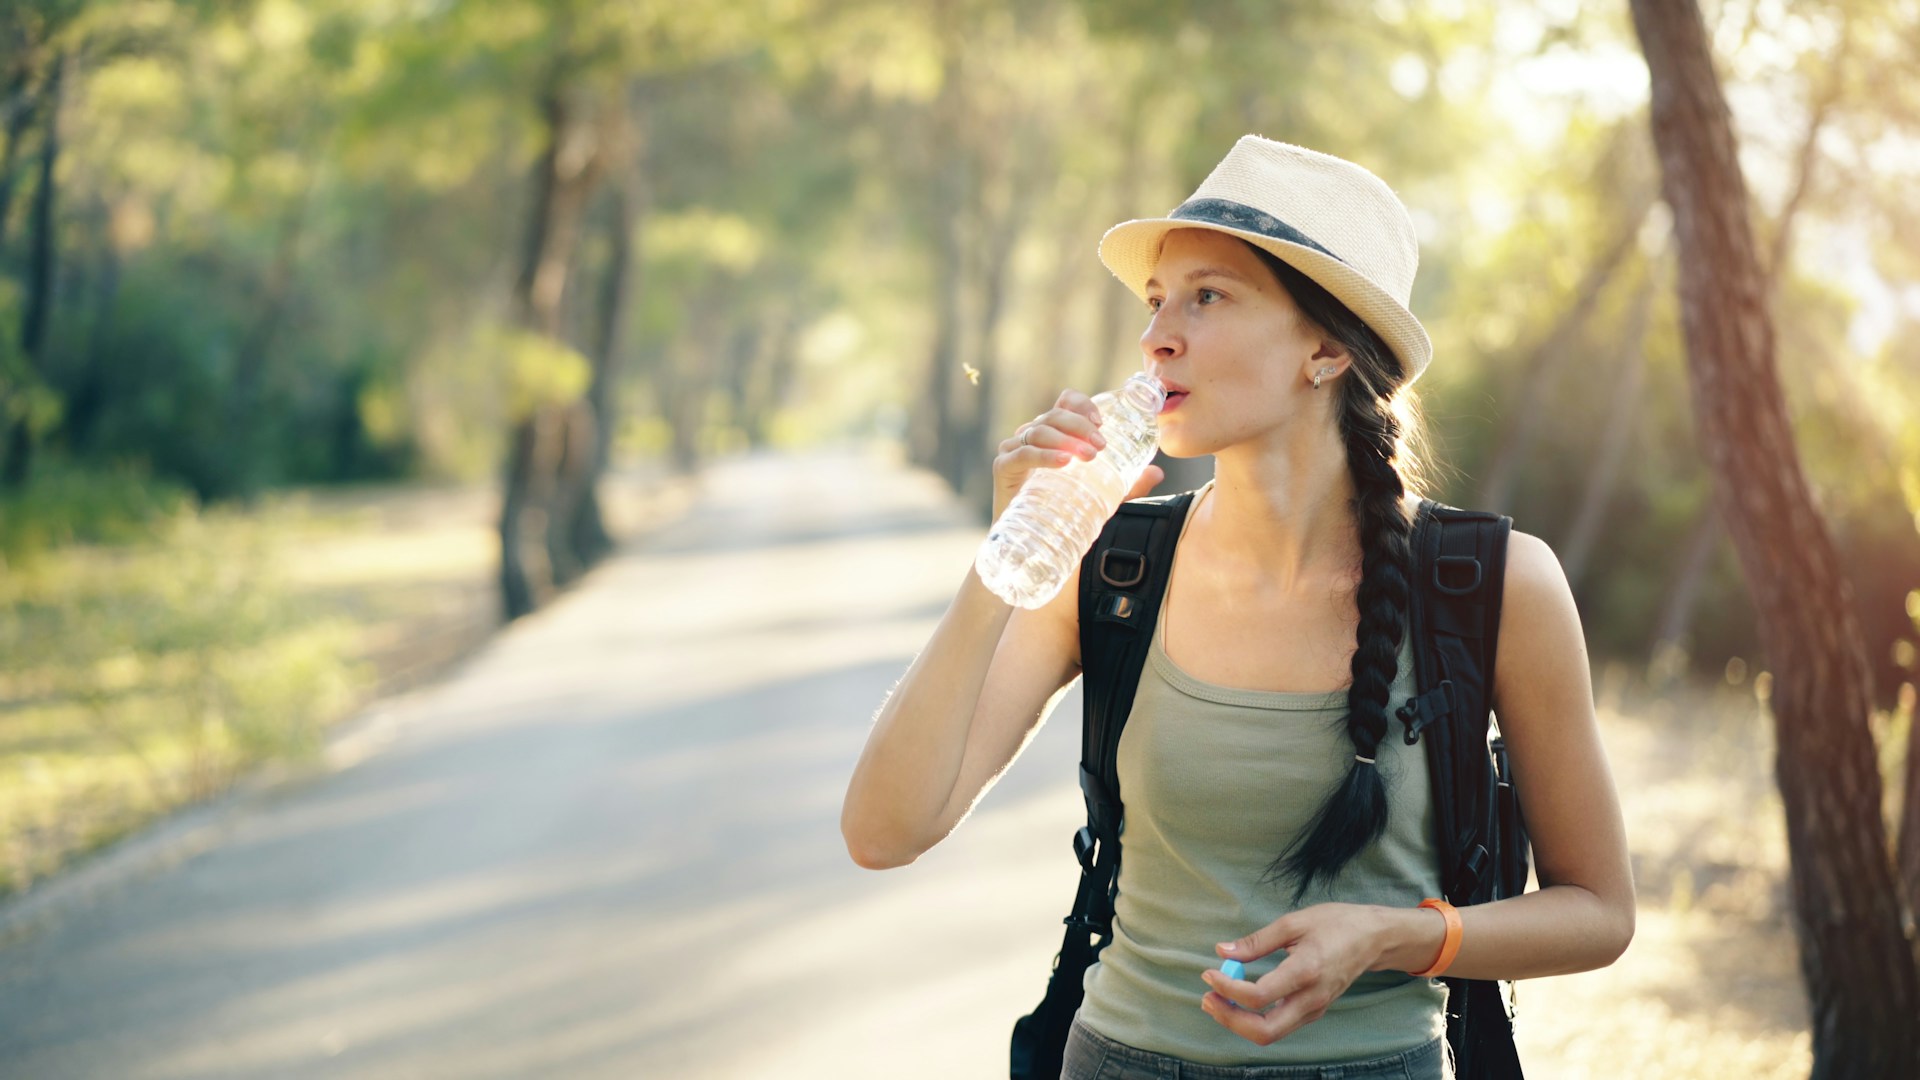
The stream looked clean. It ran fast over smooth rocks, cold and clear in the morning light. But three days without water has a way of making everything look safe. That’s when people make mistakes. That’s when one bad decision becomes a medical emergency.
You don’t need a filtration system or purification tablets to make water safe to drink. What you need is knowledge — and a little patience. These five methods have kept people alive for centuries, long before any gear existed. Learn them before you need them.
1. Solar Disinfection (SODIS)
It sounds almost too simple. Fill a bottle, set it in the sun, wait. But the science is solid — ultraviolet radiation destroys the DNA of bacteria, viruses, and protozoa, rendering them unable to reproduce and harmless to drink.
This method works best when you have a clear plastic bottle or any transparent container — a glass jar, a sealed bag, even a hollowed piece of ice-clear resin. Fill it with the clearest water you can find. Turbid or silty water blocks UV penetration, so let it settle first or filter it through a layer of cloth.
Lay the container on a reflective surface — a rock face, a piece of foil, the hood of a car — and leave it in direct sunlight for at least 6 hours. If the sky is overcast or partly cloudy, extend that to two full days. The UV still gets through cloud cover, just slower.
SODIS won’t remove chemical contamination or heavy metals — it only deals with biological threats. But in a wilderness or grid-down scenario, biological contamination is the immediate killer. This method handles it quietly, with nothing but time and light.
The sun has been purifying water since before humans existed. You’re just learning to use what’s already there.
2. Boiling Over Open Fire
No pot. No metal container of any kind. Most people stop there and assume boiling is off the table. It isn’t.
Water is a remarkable conductor of heat. As long as heat is being absorbed and converted into steam, the container holding the water stays cool enough not to burn — right up until the water is gone. This is why a paper cup can boil water over a gas flame without catching fire. The water protects the container from the heat.
In the field, this principle opens up more options than most people realise:
- Green bamboo — Cut a section between two nodes, fill with water, hold over flame. The green outer layer insulates the interior long enough to reach a boil.
- Large leaves — Fold thick, waxy leaves (banana, elephant ear, taro) into a cone or bowl shape and suspend over low heat. Slower, but it works.
- Paper or bark containers — Keep the flame low and the water level high. The moment the water boils away, the container burns, so watch it closely.
You need a full rolling boil for one minute to kill all biological threats at standard elevation. Above 6,500 feet, boil for three minutes — lower air pressure drops the boiling point and reduces effectiveness.
Once boiled, let the water cool in the container before drinking. Pouring it into anything unsterilised reintroduces contamination.
3. Rock Boiling
This is the oldest cooking and water purification method on earth. Archaeologists have found evidence of rock boiling in human settlements dating back over 30,000 years. Long before metal, long before clay pottery strong enough to sit over fire, people were making things hot by putting hot rocks into them.
Here’s how it works:
- Build a fire and place fist-sized stones directly into the hottest part of it. Let them heat for 20 to 30 minutes.
- While the rocks heat, prepare your water container — a carved-out section of green log, a large animal hide folded and staked into a bowl shape, a thick clay depression in the ground, or any natural vessel that holds water.
- Using two sticks as makeshift tongs, transfer the glowing rocks into the water one at a time.
- The water will hiss, steam, and quickly come to a boil. Add more rocks as the first ones cool to maintain the boil.
- Keep it rolling for one full minute, then remove the rocks and allow the water to cool.
One critical warning: never use rocks from a riverbed or any stone that has been submerged in water. Moisture trapped inside the rock expands violently when heated and can cause the rock to explode. Use dry rocks from elevated ground. Avoid flint, shale, and any stone with visible cracks.
The rocks do the work your pot would have done. Fire just charges them up first.
4. Vegetation Transpiration
Every living plant is constantly pulling water from the ground and releasing it through its leaves as vapour — a process called transpiration. On a warm, sunny day, a single tree can release hundreds of litres of water this way. You can intercept that moisture with nothing more than a bag and a branch.
Find a healthy, leafy tree or shrub that is not known to be toxic. Tie a clear plastic bag around a leafy branch — the more leaves inside the bag, the better. Seal it as tightly as you can around the branch and position the lowest corner of the bag to act as a collection point.
Leave it in direct sunlight for several hours. The plant continues transpiring, the vapour condenses on the inside of the bag, and clean water droplets run down to the corner where you can collect them.
This water is effectively distilled — it has passed through the plant’s vascular system and evaporated, leaving contaminants behind. It requires no purification beyond collection. The yield is modest, typically half a cup to two cups over a full day, but in a survival situation where dehydration is setting in, that can be the margin that matters.
Avoid using bags around plants with milky sap, strong odour, or any you cannot positively identify as non-toxic. The water picks up trace compounds from the plant material it contacts.
5. Solar Still
The solar still is the most effort-intensive method on this list — and the most rewarding. Built correctly, it can produce drinkable water from ground that looks completely dry, from contaminated water you pour into it, even from urine in an emergency. What comes out is distilled water, as clean as anything you can buy.
You need a hole, a container, and any sheet of clear plastic:
- Dig a hole roughly three feet wide and two feet deep in an area that gets maximum direct sunlight — a south-facing slope is ideal.
- Place your collection container in the centre of the hole at the lowest point.
- If you have contaminated water, muddy water, or any moisture source, pour it around the container inside the hole — not into it.
- Stretch the plastic sheet over the hole and seal the edges with soil and rocks so no air escapes.
- Place a small rock in the centre of the plastic directly above the collection container, creating a downward-pointing cone.
- The sun heats the air and ground inside the still. Moisture evaporates, condenses on the underside of the cool plastic, and drips from the lowest point — the tip of the cone — directly into your container.
In good conditions, a well-built solar still produces around one litre per day. That is below the survival minimum, so build multiple stills if you have the materials. Adding vegetation, cactus flesh, or any moist plant matter inside the hole dramatically increases output.
Do not break the seal to check on it. Every time you open the still, you lose the accumulated heat and moisture inside. Wait the full day before collecting.
The Rule Above All Rules
Every one of these methods handles biological contamination — bacteria, viruses, parasites. None of them remove chemical pollutants, heavy metals, or fuel runoff. If your water source is near industrial sites, agriculture, or roadways, your first priority is finding a better source, not purifying a bad one.
In a true emergency, impure water will kill you slower than no water. That calculus matters. But knowledge of these five methods means you rarely have to make that trade-off. Practice them now, at home, before the situation demands it. The skill that saves your life is always the one you already have.