

Field Notes
How to Build an Emergency Shelter in Under 10 Minutes

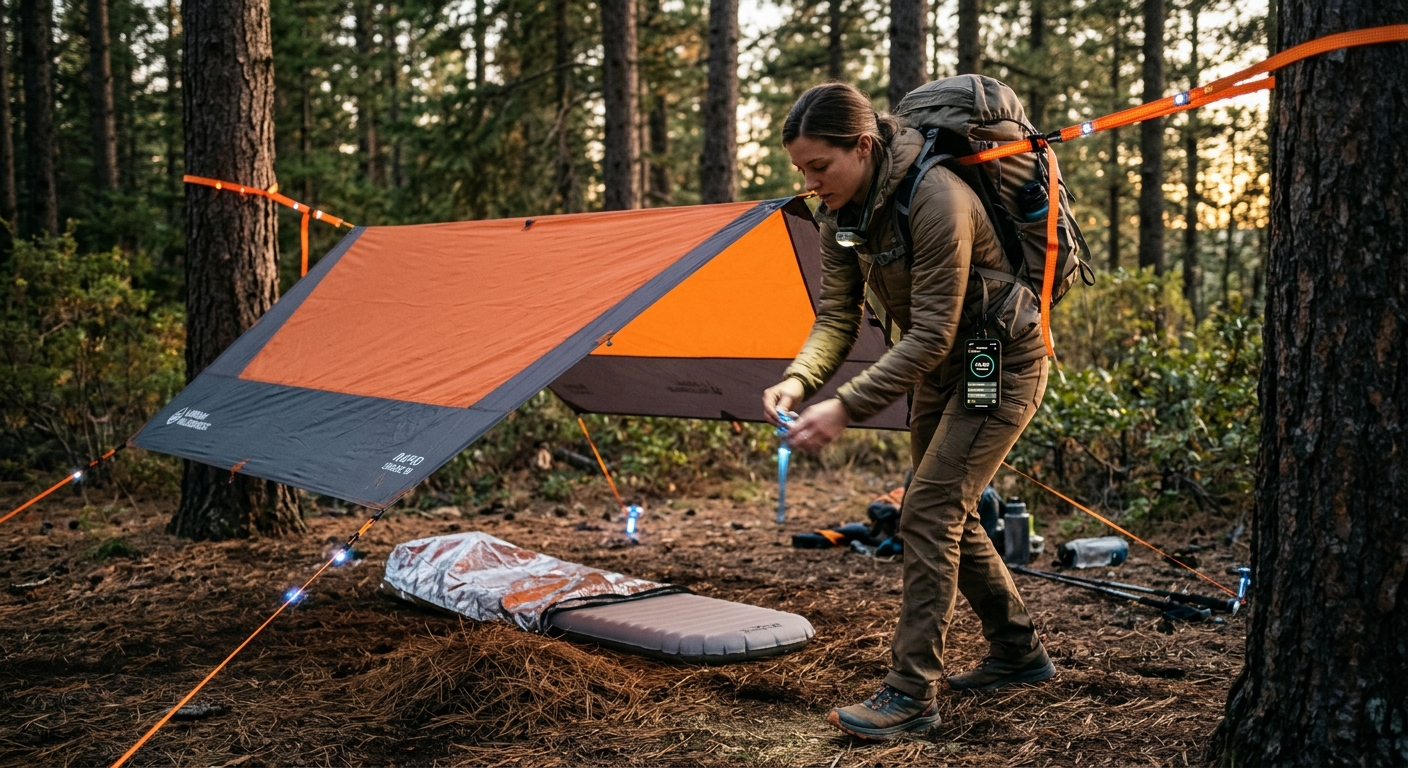
When unexpected severe weather strikes, daylight fades faster than anticipated, or an injury leaves you stranded on the trail, time is your most critical resource. In a survival scenario, hypothermia or exposure can set in remarkably quickly—sometimes within minutes if you are wet, exhausted, or facing high winds and dropping temperatures.
Knowing how to rapidly construct a secure emergency shelter using basic gear or natural materials can mean the difference between a minor misadventure and a life-threatening crisis.
Here is a step-by-step guide to putting up a reliable emergency shelter in 10 minutes or less.
The Rule of Threes: Why Speed Matters
Survival experts often cite the “Rule of Threes”: you can survive 3 weeks without food, 3 days without water, but only 3 minutes without shelter in extreme environmental conditions. When you are caught in freezing rain, wind, or blistering sun, waiting until dark or fumbling with a complicated tent setup is a dangerous mistake.
Your goals for a rapid-deployment shelter are simple:
- Block the wind (wind chill accelerates heat loss drastically).
- Insulate from the ground (conduction steals body heat 20 times faster than air).
- Keep dry (moisture destroys your body’s natural insulation).
The 10-Minute Tarp Lean-To (The Gold Standard)
If you are carrying a standard emergency tarp, a space blanket, or even a heavy-duty trash bag and some paracord, the lean-to is your fastest, most efficient option.
What You Need:
- A lightweight tarp, plastic sheeting, or emergency space blanket (approx. 8×10 feet is ideal).
- 20–30 feet of paracord or utility rope.
- Two sturdy trees or natural anchor points about 6 to 8 feet apart.
- Four stakes (or improvised rocks/logs).
Step-by-Step Breakdown:
- Minute 1–3: Locate and Anchor the Ridge Line Find two living trees, sturdy branches, or trekking poles that are roughly the width of your tarp apart. Tie your paracord tightly between them at about knee-to-waist height. If you want more headroom, bring it up to chest height, but a lower profile keeps the interior warmer.
- Minute 4–6: Position the Tarp Drape your tarp or plastic sheeting over the paracord line so that one side is longer than the other. Position the shelter so that the backside (the lower side) faces into the prevailing wind. This creates a natural windbreak and prevents drafts from sweeping underneath.
- Minute 7–8: Stake Down the Corners Pull the bottom corners of the tarp taut and peg them down using tent stakes, heavy rocks, or buried sticks. If you don’t have stakes, weigh down the hem of the tarp with large stones or logs to seal out ground drafts.
- Minute 9–10: Insulate the Floor Never sit or lie directly on bare earth. Gather dry leaves, pine needles, moss, or dry grass to create a thick insulating mattress inside your shelter. If you have a sleeping pad or backpack, lay it on top of your debris bed.
Alternative: The Natural Debris Lean-To (No Gear)
If you find yourself stranded without a tarp or man-made materials, you can build a debris shelter using fallen timber and natural forest cover.
- Find a Lean-To Anchor: Find a sturdy branch or small fallen tree resting against a standing tree trunk at about hip height.
- Build the Ribs: Lay numerous long branches and stout sticks against the horizontal spine at a 45-degree angle, placing them close together to form a sturdy skeletal framework.
- Thatch the Roof: Pile a thick layer—at least 1 to 2 feet deep—of pine boughs, ferns, leaves, and moss over the framework. Start from the bottom and work your way up like shingling a roof so rain and moisture run off rather than leaking through.
- Crawl In: Stuff the interior with a deep layer of dry debris to insulate yourself from the cold ground.
Pro-Tips for Emergency Shelter Success
- Smaller is Warmer: Your body heat is what warms the interior space. Do not build a shelter larger than you actually need to lie down or sit comfortably. Excess air volume requires more body heat to warm up.
- Ground Insulation is Non-Negotiable: Hypothermia often occurs because the cold ground draws heat directly out of your body. Prioritize thick ground cover over overhead cover if you are forced to choose.
- Keep Dry: Avoid sweating excessively while building your shelter. Shed layers before you begin working so moisture doesn’t soak into your base layers, leading to rapid chill once you rest.
Preparation is ultimately about mindset. Practice setting up your emergency gear in your backyard or local park with a timer. Once muscle memory takes over, you’ll be able to secure your safety net long before the clock runs out.